6 Things To Do Today To Be An Organized Teacher
Having just taken over a classroom mid-year, the large supply cabinet sitting in the corner caught my attention. Excitedly, I pictured a stash of goodies like teaching manuals, office supplies, and paper.
Opening the doors to the supply cabinet, shock crossed my face. Images from a show about hoarders flashed through my mind. Textbooks that had been out of circulation for more than a decade, miscellaneous scraps of paper, and floppy disks that were quite literally floppy now pooled around my feet.

This cabinet was huge. It was awesome, but because it lacked organization, what should have been a blessing was a source of stress. The thought of tackling a six-foot-high cabinet packed with years of discarded J-U-N-K was overwhelming.
I organized that cabinet ASAP, and I’ve been organizing it ever since.
Do you want to know how to get it all done? Want to be an organized teacher? Tired of wasted time? Yeah, me too! Personally, I’d answer all three questions with a great big yes. I’m guessing you would too.
I wish there was a way to get it all done perfectly all of the time, but perfection is just not realistic.
Thankfully by becoming an organized teacher, you can maximize your productivity and efficiency. It can’t turn you into a superwoman, but it can help prevent secret chaos hidden behind the cabinet doors.
These are some of the tips that have helped me become more organized. Hopefully, they’ll help you too.

Organized Teacher Tip 1: Know Your Plan
You’ve probably heard the quote, “Failing to plan is planning to fail,” by Alan Lakein. If you don’t know what you want to get done or you fail to plan how you will get there, chances are you’re not going to accomplish much.
Give yourself permission to take a few minutes and daydream or visualize what the end goal will be before you get started. Try to picture the end result. Then, make a plan.
Personally, I’m a fan of using checklists, especially for big tasks. They let me see both the big plan and the individual steps needed to accomplish it. If you want an example, you can get a copy of my Free Back to School Checklist here.
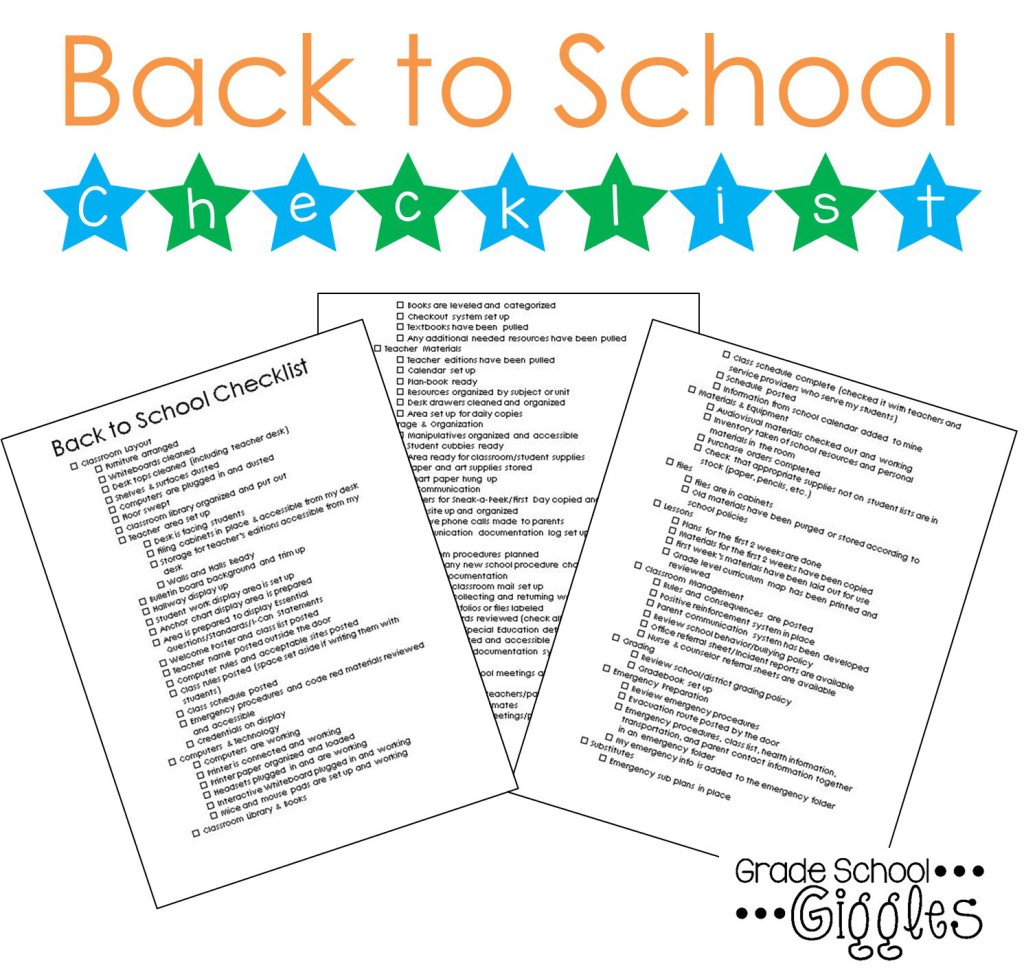
Take your goal and break it down into steps and then list out all of the specific little tasks that need to get done. That way, you can just go down the list and know you’re not getting sidetracked or forgetting something.
If you’re planning out a task that you’ll do again, like IEPs or setting up your classroom, type your checklists up and print them. It makes it easy to make changes, and you’ll be ready to print and hit the ground running next time.

Teacher Tip 2: Do Things Once Whenever Possible
I’ve already talked about my love of a good checklist, and I already talked about writing them on the computer for easy editing and quick reprinting, but my most used checklists get taken a step further.
Laminate those suckers. You can totally write on them with a dry-erase or permanent marker. A Mr. Clean Magic Eraser will wipe them clean. No water is needed! Store frequently used checklists in a folder or on a clipboard for easy access.
Another way to reduce your workload is to avoid reinventing the wheel each year. While I believe in writing new lesson plans for each group of students, I completely recommend storing your lesson materials by the units you teach.
That way, when you are ready to write your lesson plans, your unit materials are all together and ready for you to copy them. If you have examples, rubrics, keys, and even unit plans, store them with your materials. You can even add pictures of hallway displays or bulletin boards that you use with the unit. I love the way Stephanie stores her materials. Check out her post about it here.

Organized Teacher Tip 3: Make Your Space Work for You
When you talk about organization, people often think about physical space. Let’s be honest, getting organized in a chaotic space is hard, and preventing chaos can be a challenge in a classroom full of kids.
So, it’s important to structure your classroom to support the routines and activities that will occur there. You probably want to have certain structured areas in your room. I always wanted to have a rug area for whole group instruction, a small group table, student work areas, and areas to store centers, teacher supplies, student materials, and some sort of mailboxes. Also, I planned my wall space to accommodate my objectives, word wall, alphabet, number line, rules, and ever-changing anchor charts. I wrote about efficient anchor chart storage and display here.
Whatever areas you decide on, there are some important things to consider as you plan out your space. You’ll want frequently used supplies easily accessible and everything else accessible when needed. If your students will be using the supplies, you need to be sure they are at a height that they can reach and super easy to access and return. Supply caddies work well for both student and teaching supplies.
Not only is it important to be able to access and find your materials, but being comfortable in your workspace is important too.
Personally, I’m much more likely to keep up with putting things back if everything has a home and the environment is visually tidy and appealing.
Another thing to consider when planning your physical space is any technology you have in your classroom. Like other supplies, technology needs to be accessible and organized to maximize its usefulness. You can find more ideas for organizing technology here.

Teacher Tip 4: Build Good Routines
Using checklists and developing a good storage plan will help you build efficient routines for yourself, but in the classroom, there is one of you and a whole bunch of kids. Establishing routines for them and practicing routines with your students is an essential part of being an organized teacher.
You’ve probably heard this before, but seriously plan out every little routine you want in your classroom. Decide ahead of time how you want things like bathroom breaks, questions, pencils, packing up, etc., to be handled. Set up, teach, and practice your routines step by step with your kids. The more consistent the routines are, the more you’ll be freed up to teach.
Organized Teacher Tip 5: Delegate
Remember, there’s only one of you. You can’t do it all alone. Sometimes it seems easier to just do something yourself, but delegating is an important sanity-saving strategy for any teacher.
Students can take responsibility for picking up and putting away supplies. Having small buckets or using tidy tubs, as Aris does here, can help. Classroom chores can include cleaning up specific areas or even doing things like helping file non-confidential materials if you have older students. You may be able to get some upper-grade student volunteers to help in the afternoons if your school runs an afterschool program.
Some tasks require an adult’s help. If you’re lucky enough to have parent volunteers, use them. Parents can be great for working with small groups of students to practice sight words or math facts. They can help with bulletin boards and hallway displays, run copies, or cut lamination.
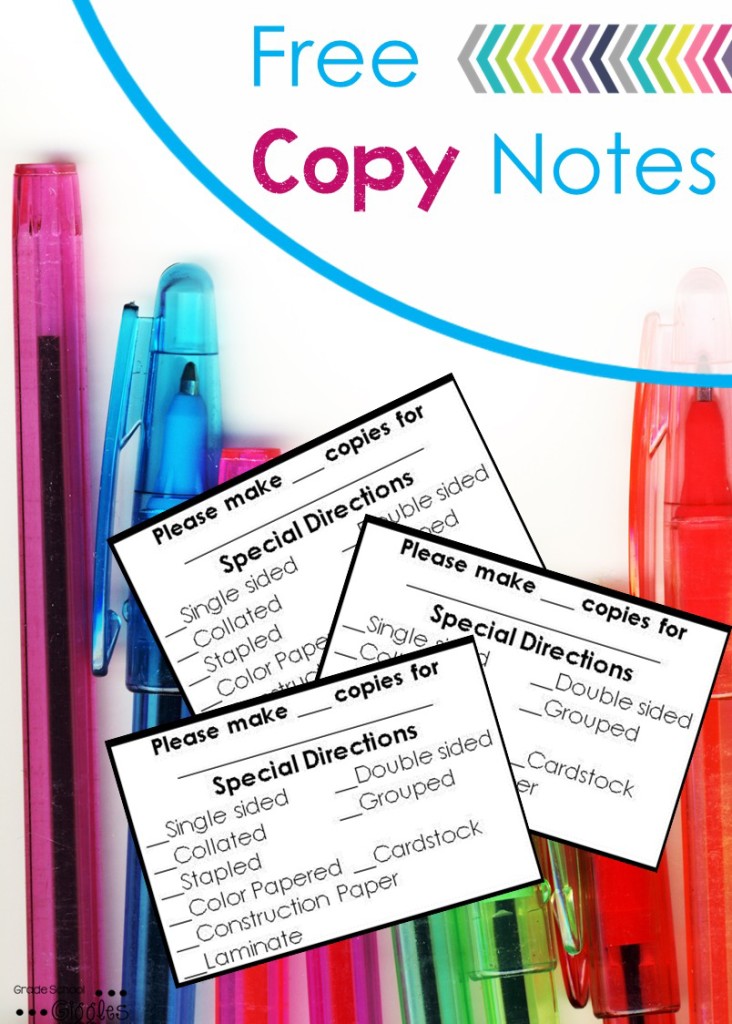
If you have parents who want to help but aren’t available during the day, try sending home laminated materials that need to be cut. The main thing is to know exactly what you want your parent volunteers to do and to set up a system so that they can help without disrupting your class. You can grab a free copy direction sheet here. Fill out the information. Then, paperclip the note to the pages you need to be copied.

Teacher Tip 6: Prepare for Things to Come Up
If you want to be an organized teacher, getting organized isn’t enough; you’ve got to stay organized. In my experience, that’s where things get tricky. Things don’t always go as planned. The copier runs out of toner. School closes early. An emergency staff meeting takes your planning….Stuff happens.
Sometimes it’s going to blow your plans to smithereens, like the time the entire school had to evacuate for hours because someone put a stink bomb in the toilet, setting off the sprinkler system, and flooding part of the school. Most of the time, though, it’s not that dramatic, and you can work around it.
Since things come up, it’s best to plan ahead.
No one wants to write last-minute lesson plans when they’re sick or to rush to come up with a plan b because the copier broke. Plan far enough ahead to provide yourself with some leeway. You’ll breathe a little easier when things do come up.
If you have your plans written 2 weeks ahead, you’re well covered. At a minimum, I’d try and plan a week in advance. Not only does it mean you’re covered if an emergency happens, but it lets you use parent volunteers to run your copies and gives you time to prep any extra materials you need. Being prepped early also makes it easy to set your materials out before you leave. Try to lay out your materials for the next day and lesson plans on top of your desk each day. Then if you get sick, you can simply email a colleague any additional notes you want to relay to the substitute instead of writing a whole new set of plans.
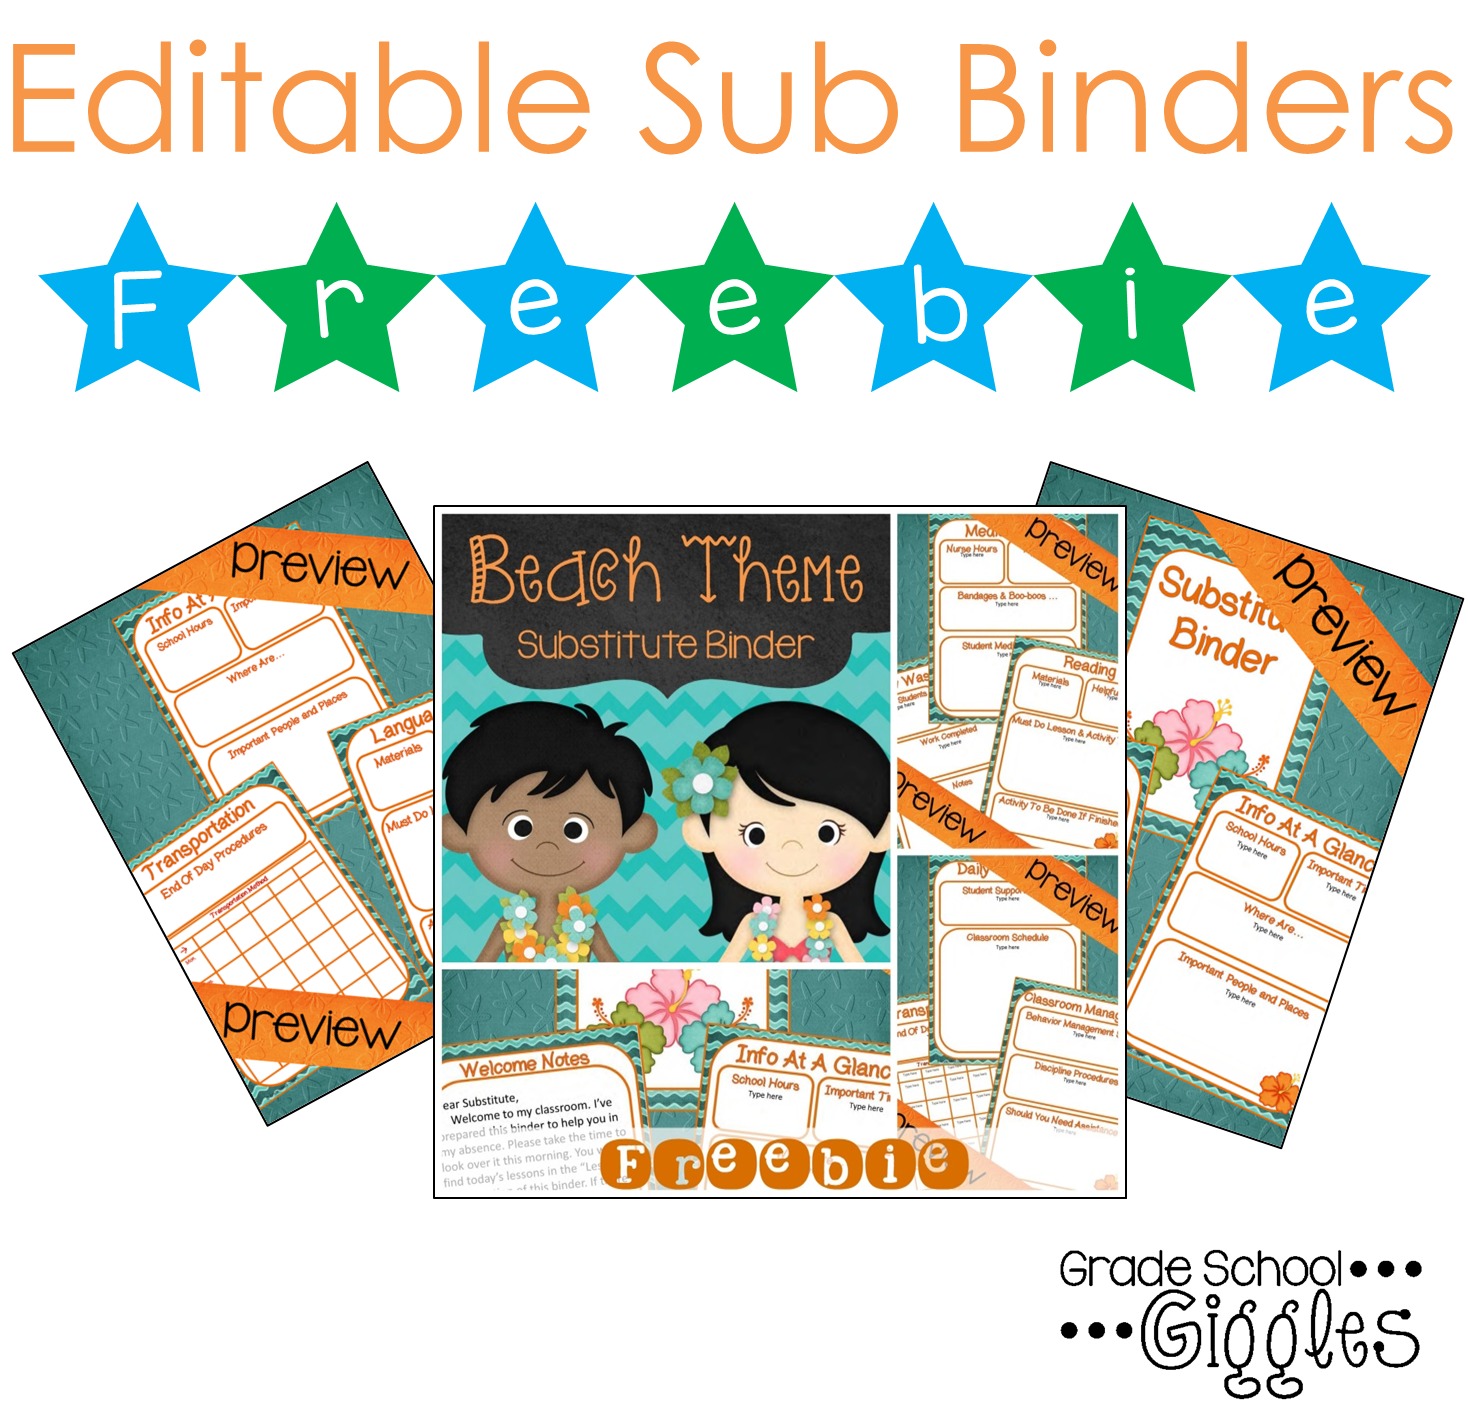
I did my best to lay out my materials, but there were days it didn’t happen. One thing I did always have on my desk was a substitute binder. My sub binder had all of our classroom procedures, emergency drill procedures, special student needs, schedules, and a map of the school. I also kept a section for each subject with the classroom routines and several review activities in case of a true emergency when I would be unable to write substitute plans. It’s so much easier if you’ve done that to deal with waking up sick or having a sick kid.
Grab A Free Substitute Binder To Use In Your Classroom.
If you would like a copy of my free editable substitute binder, you can grab it here (owl theme), here (beach theme), or here (apple theme).
Pick one tip to try out today. Soon, with the chaos behind your cabinet doors organized, you will find yourself getting more done with enough time left to enjoy your life outside of school, too.
