Arctic Animal Crafts To Complete Your Next Arctic Animals Unit
Maybe you’re just looking for a fun seasonal activity, or maybe you need a way to introduce your class to research writing. Either way, arctic animal crafts and activities are great for this time of year.
These Arctic Animal Crafts Will Make Your Students’ Expository Writing Pop
In this post, I’ll share ideas to help you introduce your class to expository writing. Plus, I’ll give you tips to guide them through the writing process.
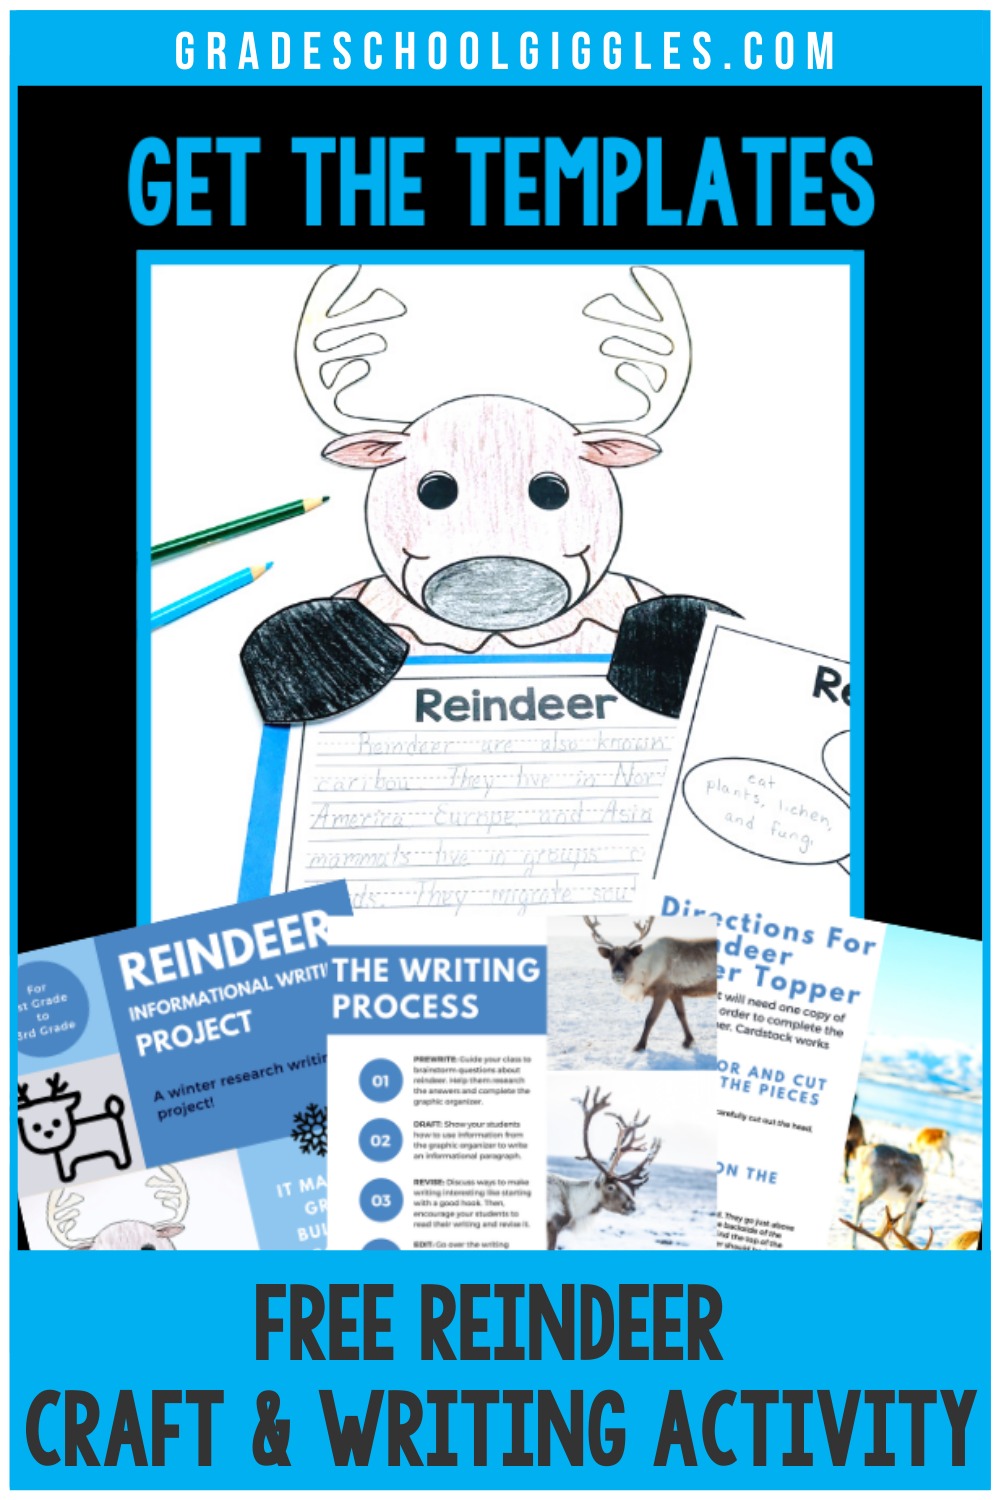
I’ll also be sharing some reindeer-themed freebies at the end of this post so that you can complete an expository writing activity with your class.
Guide Your Students Through The Expository Writing Process
Since expository writing involves sharing facts and details about a specific topic, it’s important to have lots of interesting facts to share.
High-quality nonfiction read-alouds, like the ones below, are an excellent way to help young students begin the research process. (This post includes affiliate links.)
Step #1 – Prewrite
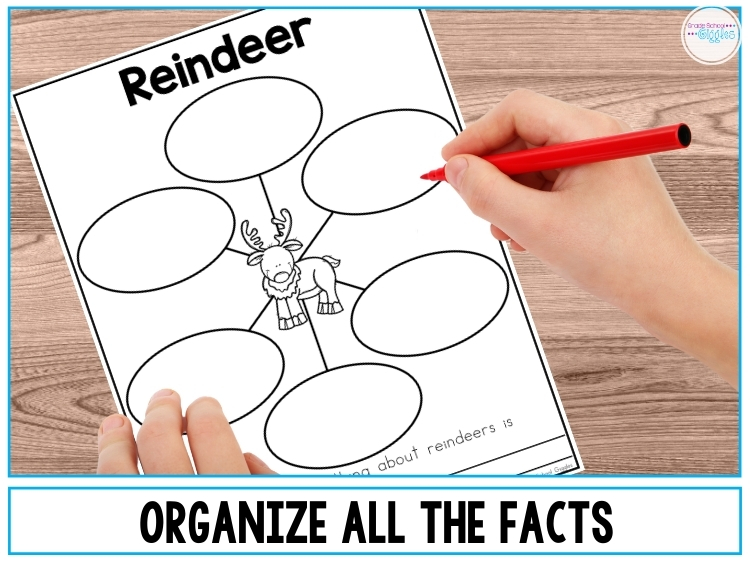
The prewriting process is all about gathering and organizing information.
Guiding questions are a great tool for helping students narrow down the topic. Guide your class to brainstorm questions about arctic animals and then identify questions to research.
Help your kiddos research the answers and complete the graphic organizer.
Step #2 – Draft
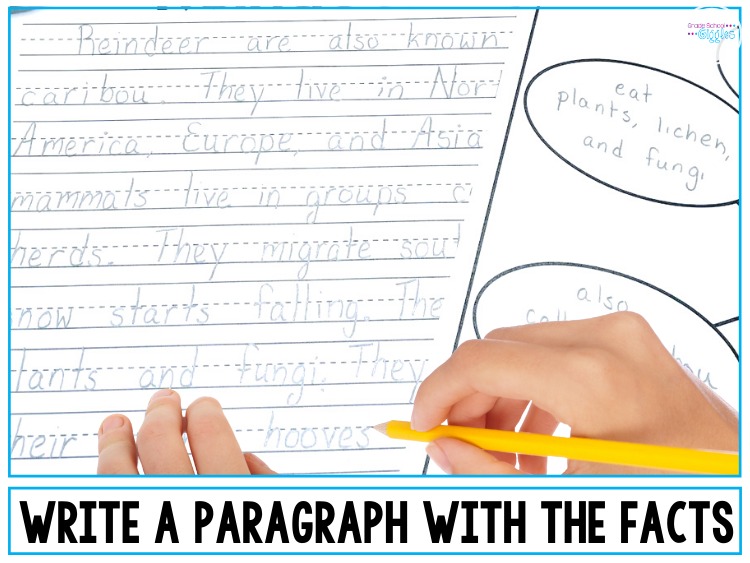
Once all of the facts and information have been organized, it’s time to start writing. The drafting process is all about organizing ideas on paper. Ideas and organization matter more than spelling and grammar in this step.
Show your students how to use information from the graphic organizer to write an informational paragraph.
Step #3 – Revise
Once a rough draft has been written, it’s time to revise.
- Does the writing stay on topic?
- Does it make sense?
- Can the information be clarified or better explained?
Discuss ways to make writing more interesting, like starting with a good hook or using various sentence lengths. Then, encourage your students to read their writing and revise it.
Think about A.R.M.S.
- Add – Do you need more information or details?
- Remove – Are there sentences that aren’t relevant or that are repetitive?
- Move – Does the order make sense?
- Substitute – Are there better examples to include? Are there synonyms that could replace overused words?
Step #4 – Edit
After revising comes editing. It’s time to check the grammar and spelling.
Go over the writing checklist. It’s helpful to model editing several sentences before asking your students to check their writing.
Think about C.O.P.S.
- Capitalization – Does every sentence start with a capital letter? Are all of the proper nouns capitalized? Are there any capital letters that should be lowercase?
- Order – Are the sentences written in an order that makes sense? Is the writing organized?
- Punctuation – Does every sentence end in the correct end mark? Are there any commas or apostrophes needed?
- Spelling & Spaces – Are the words spelled correctly? Are the words and letters spaced correctly?
Step #5 – Publish
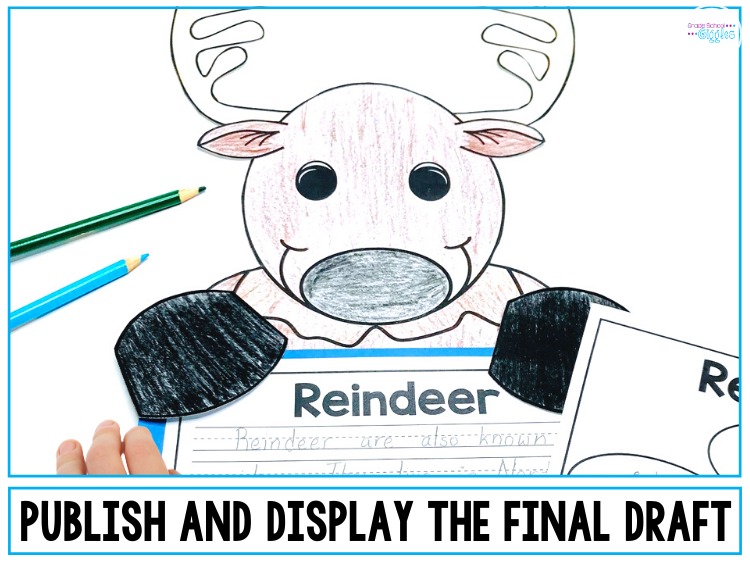
Writing is largely about sharing and communicating ideas. Publication is the stage when your kiddos get to share a final copy of their writing.
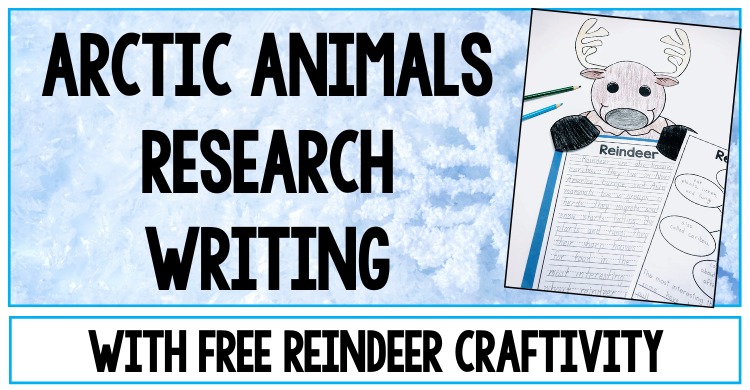
A bulletin board display is a great way for students to display all of their hard work. Use the reindeer writing paper to create a final copy. Top it off with the cute reindeer topper, and the writing is ready to be hung up.
Still Need More Arctic Animals Activities?
If you’re looking for more arctic animal activities…
- Check out this free arctic animal sensory play and QR code activity.
- Explore more Arctic animal crafts and writing activities here.
Don’t Forget To Get Your FREE Reindeer Informational Writing Freebies
If you’d like to complete the reindeer writing activity from this post, don’t forget your FREE reindeer craftivity.
Get the FREE reindeer paper topper template, the graphic organizer, the stationery, and the writing checklist below.
