Organize Your Classroom With These Time-Saving Center Storage Tips
Teachers are B-U-S-Y! We’re always working on something. That’s why we’re always looking for ways to work smarter, not harder, in our classrooms.
Setting up an organized storage system for centers is one way we can work smarter, not harder.
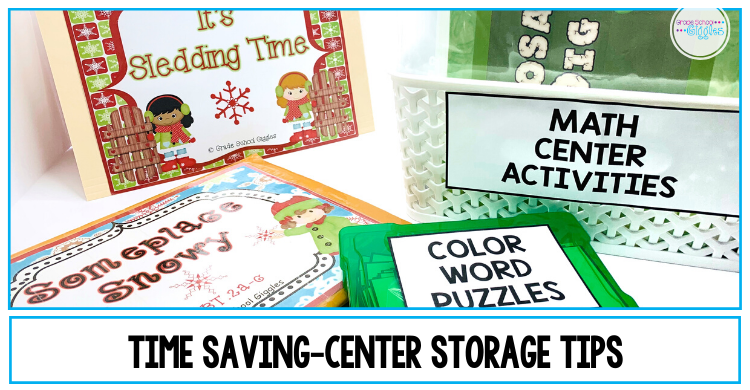
An organized system for center storage will save time for years to come. Plus, it will make it easy to reuse centers year after year. Let’s get started.
Make your centers last longer.
Kids are known for lots of things: sticky hands, lots of energy, losing things… Being careful and gentle with classroom supplies isn’t one of those things.
Centers get a lot of handling. These tips have helped make my activities last for years.
- Print centers on cardstock.
- Use a thicker 3mm or 5mm lamination.
- If you use the school’s laminator, cut out your pieces before you laminate them.
Prevent pieces from getting lost.
Anyone who spends much time around kids knows they lose things. A classroom full of kids and activities with lots of pieces means parts will occasionally get lost. It’s going to happen, but you can minimize the number of bits that get lost with the following tips:
- Use sealable storage options.
- Write the number of pieces on each center. When it comes time to switch out your centers, you can count the number of pieces. If a center comes up short, you’ll know that you need to either find the missing part or replace it before you can use it again. It’s easier to fix it before you store it.
- Allow time for cleaning up EVERY at the end of every rotation. Build in a short cleanup time. Check that everything’s been cleaned up before anyone moves, even if another group will be doing the same activity.
- Use defined workspaces. Students can keep their work on a felt mat, inside a hula-hoop, or on a table to prevent losing pieces.
Create storage and system for damaged center pieces.
Have you ever replaced something because you couldn’t find it? I sure have! Recently, I thought my daughter had lost her water bottle. Then, I found it stuck under the seat in the car.
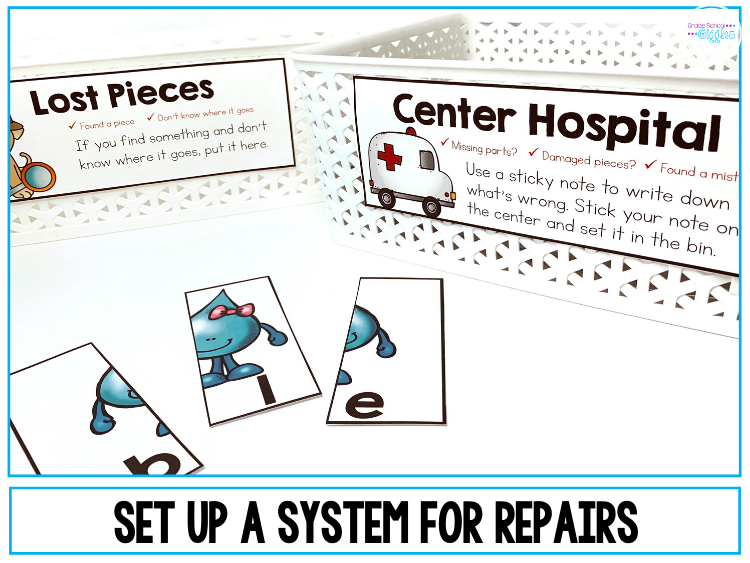
Hopefully, pairing a system for keeping track of which activities need repairs with a reliable storage method will save you from the frustration of replacing parts only to find them later.
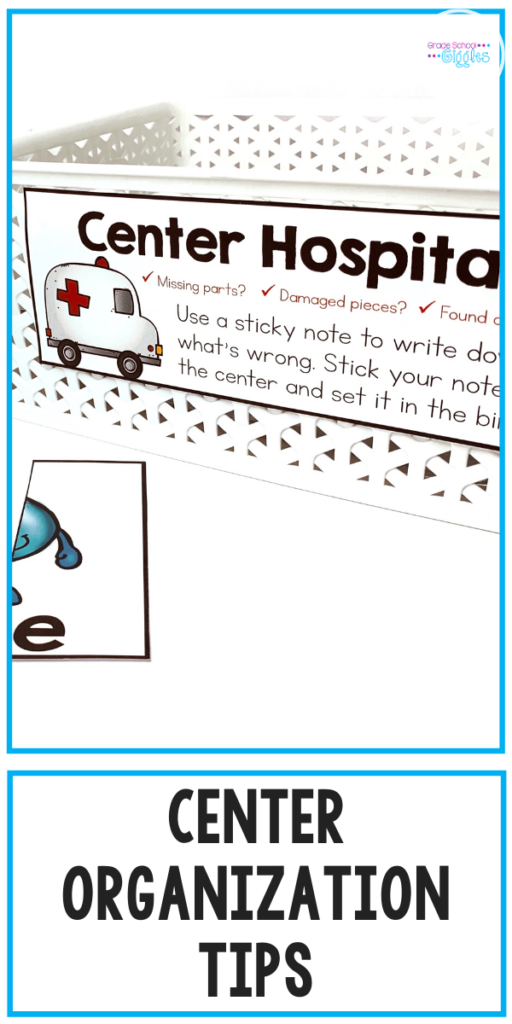
While you can minimize the number of pieces that get lost, you can’t totally avoid it. Centers that get used over and over will eventually need some repairs. Parts will get damaged or lost. A center hospital helps you keep track of any repairs required.
- Designate a bin for any centers that need repairs. Use sticky notes to write down what’s wrong. Then, fix your centers before you store them.
- While our kiddos do lose things, they find them too. Having a designated spot for them to put all the little things like center pieces and parts of games will minimize interruptions. Plus, it makes it a lot easier to keep up with missing pieces and return them to the correct activities.
Organize your center storage system
Even if your centers are in fabulous shape, you won’t save any time if unless you can easily find them. That’s why you’ll want to think about an organized center storage plan. I’ve used several methods over the years. These are a few of my favorites.

- Plastic Bags- This is probably the easiest storage method. Stick everything in a plastic bag and seal it up. Store the bags upright in a labeled box.
- Manila Envelopes- Glue a center label onto a large manila envelope. Then, wrap it up with clear packing tape. This method is durable and works well if you plan to store your centers in a filing cabinet. Smaller pieces can be stored inside the envelope within a plastic bag.
- File Folders- Glue a center label onto the front of a file folder, the directions inside, and any answer key to the back. Then, laminate the file folder. Finally, staple a plastic bag onto the inside of the folder for any small pieces. This method is durable and works well within a filing cabinet.
- Boxes- This method works well for sets of task cards or matching cards that don’t have worksheets or recording sheets. Just stick the pieces in the box and add a label to the container.
Get more center tips
Hopefully, those tips will help you get years of use out of your centers. If you’re looking for more help getting set up with centers, check out the blog posts below.
- Successfully set up centers.
- Differentiate with centers and small groups.
- Make every second of your small group time count.
Find centers to use
Click here to see all of the center activities available on my TPT store.
